Setup Kubernetes and its dashboard on Docker Desktop
In this post we will walk through how you can install and run a single node Kubernetes instance using Docker Desktop Community Edition for Windows or Mac.
Prerequisites
To keep things simple, we will assume you have access to a bash Command Line Interface (CLI) on your local machine. Mac users should have access to the Terminal application while Windows users will need to install one of several options, including but not limited to:
What is Kubernetes
Kubernetes (K8s) is a portable open source platform for automating the deployment, scaling and management of containerised applications. The name Kubernetes originates from the Greek language, meaning helmsman or pilot and is the root of the words governor and cybernetic. It emerged from the need for declarative configuration for the orchestration of containers, which had just been popularised by Docker. Although Docker provided a simple way to package, distributed and deploy applications, its focus on single machine left a gap for management at enterprise or cloud scales.
K8s can be thought of as:
- a container platform;
- a microservices platform; and
- a portable cloud platform.
It's ability to orchestrate computing, networking, and storage infrastructure on behalf of user workloads makes it particularly well suited for hosting distributed applications such as an Enterprise Service Bus (ESB).
Install Docker Desktop
If you want to get started with Kubernetes on a Windows 10 or Mac OS operating system, Docker Desktop is the quickest way. Docker Desktop comes in two editions, a free community edition and a paid enterprise edition. It includes everything you need to build, test and ship containerised applications right from your machine and for this walkthrough, either edition will be suitable. To obtain a copy, head to the Docker website, and follow the instructions to download and install it.
Once installed, you can verify that Docker is up and running by opening your CLI of choice and executing the following command:
docker version
If successful, you should seen some output printed to the screen similar to this:
Client: Docker Engine - Community
 Version:           18.09.2
 API version:       1.39
 Go version:        go1.10.8
 Git commit:        6247962
 Built:             Sun Feb 10 04:12:39 2019
 OS/Arch:           darwin/amd64
 Experimental:      false

Server: Docker Engine - Community
 Engine:
  Version:          18.09.2
  API version:      1.39 (minimum version 1.12)
  Go version:       go1.10.6
  Git commit:       6247962
  Built:            Sun Feb 10 04:13:06 2019
  OS/Arch:          linux/amd64
  Experimental:     true
 Kubernetes:
  Version:          v1.10.11
  StackAPI:         v1beta2
Install Kubernetes
Once Docker Desktop is installed, you should see a whale icon in the taskbar for Windows or the menu bar for Mac. Clicking the icon should reveal a content menu with an option for Settings or Preferences depending on your Operating System, select it. Once open, navigate to the Kubernetes tab. Kubernetes is not installed by Docker Desktop by default, you'll need to check the Enable Kubernetes checkbox and wait for it to be downloaded and installed before proceeding. The amount of time this will take largely depends on your internet speed, once the window shows Kubernetes is running, you should be ready to continue.
Once enabled, you can verify that Kubernetes is available by opening your CLI of choice and executing the following command:
kubectl version
If successful, you should seen some output printed to the screen similar to this:
Client Version: version.Info{Major:"1", Minor:"10", GitVersion:"v1.10.11", GitCommit:"637c7e288581ee40ab4ca210618a89a555b6e7e9", GitTreeState:"clean", BuildDate:"2018-11-26T14:38:32Z", GoVersion:"go1.9.3", Compiler:"gc", Platform:"darwin/amd64"}
Server Version: version.Info{Major:"1", Minor:"10", GitVersion:"v1.10.11", GitCommit:"637c7e288581ee40ab4ca210618a89a555b6e7e9", GitTreeState:"clean", BuildDate:"2018-11-26T14:25:46Z", GoVersion:"go1.9.3", Compiler:"gc", Platform:"linux/amd64"}
This will have resulted in Docker Desktop setting up a single node Kubernetes cluster on your local machine.
Installing the Kubernetes Dashboard
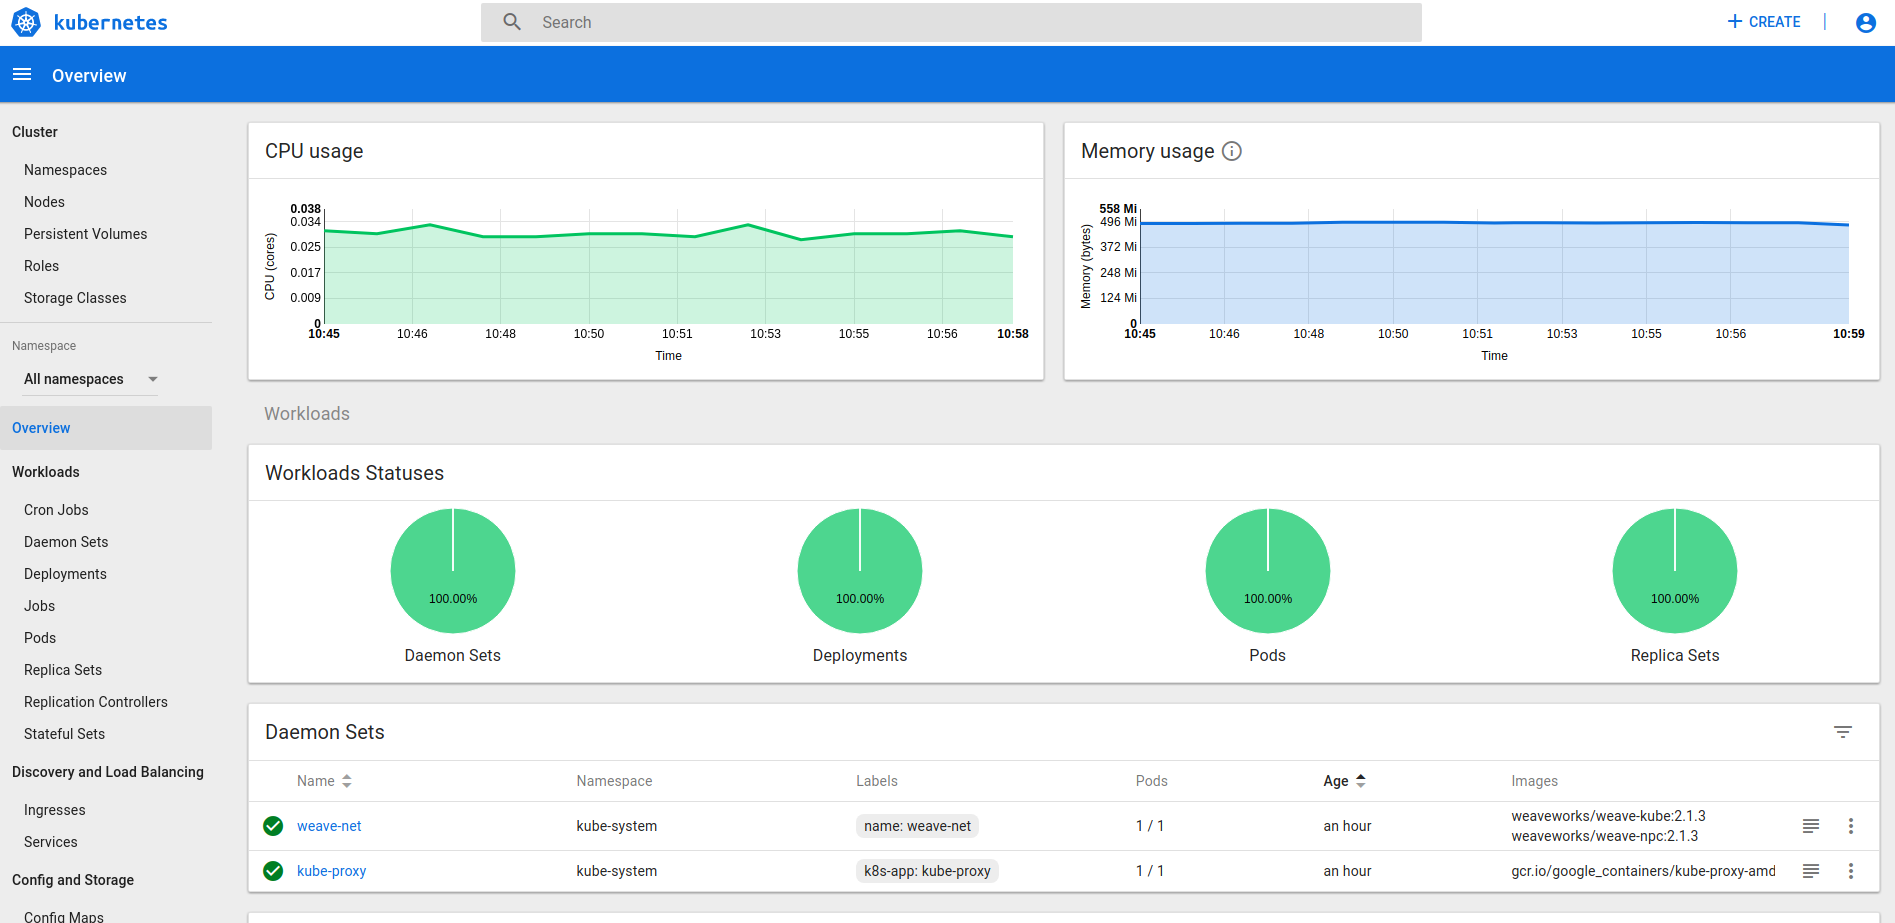
Dashboard is an official web-based user interface for Kubernetes. It can be used as an alternative to the CLI for those that prefer to work with a Graphical User Interface (GUI). At a high level, it features the ability to deploy, troubleshoot and manage resources for Kubernetes clusters. In particular, it can be used to get an overview of running applications and to perform common tasks such as scaling a deployment, initiate a rolling update, restarting a pod or deploying new applications.
Although the Dashboard is the official GUI for Kubernetes, it is not deployed by default. To deploy it to your single node Kubernetes cluster, run the following command:
kubectl apply \
  -f https://raw.githubusercontent.com/kubernetes/dashboard/v2.0.0-beta8/aio/deploy/recommended.yaml
To make the deployed Dashboard accessible, use the kubectl command-line tool by running the following command:
kubectl proxy
You will then be able to navigate to http://localhost:8001/api/v1/namespaces/kubernetes-dashboard/services/https:kubernetes-dashboard:/proxy/ in your browser to access the dashboard.
Setting up a Dashboard user
Navigating to the Dashboard will have presented a screen asking for a Kubeconfig file or an access token. To use the Dashboard, you'll need to create a user and obtain a bearer token for them. Begin by creating a file called dashboard-admin-user.yaml with the following contents:
apiVersion: v1
kind: ServiceAccount
metadata:
  name: admin-user
  namespace: kube-system
Then navigate to the location you saved the file in your CLI and use the following command to create the admin user:
kubectl apply \
  -f dashboard-admin-user.yaml
Finally, to obtain a bearer token, you'll need to run the following command:
kubectl -n kube-system describe secret \
  $(kubectl -n kube-system get secret | grep admin-user | awk '{print $1}')
It should print some output to the screen like this:
Name:         admin-user-token-m9nr5
Namespace:    kube-system
Labels:       <none>
Annotations:  kubernetes.io/service-account.name=admin-user
              kubernetes.io/service-account.uid=b9b37a57-812d-11e9-9877-025000000001

Type:  kubernetes.io/service-account-token

Data
====
ca.crt:     1025 bytes
namespace:  11 bytes
token:      eyJhbGciOiJSUzI1NiIsImtpZCI6IiJ9.eyJpc3MiOiJrdWJlcm5ldGVzL3NlcnZpY2VhY2NvdW50Iiwia3ViZXJuZXRlcy5pby9zZXJ2aWNlYWNjb3VudC9uYW1lc3BhY2UiOiJrdWJlLXN5c3RlbSIsImt1YmVybmV0ZXMuaW8vc2VydmljZWFjY291bnQvc2VjcmV0Lm5hbWUiOiJhZG1pbi11c2VyLXRva2VuLW05bnI1Iiwia3ViZXJuZXRlcy5pby9zZXJ2aWNlYWNjb3VudC9zZXJ2aWNlLWFjY291bnQubmFtZSI6ImFkbWluLXVzZXIiLCJrdWJlcm5ldGVzLmlvL3NlcnZpY2VhY2NvdW50L3NlcnZpY2UtYWNjb3VudC51aWQiOiJiOWIzN2E1Ny04MTJkLTExZTktOTg3Ny0wMjUwMDAwMDAwMDEiLCJzdWIiOiJzeXN0ZW06c2VydmljZWFjY291bnQ6a3ViZS1zeXN0ZW06YWRtaW4tdXNlciJ9.EZ37ihKfHBszN1Ujz6EgDj143Q-hUKtWUyo1s88D0-WCwdtnmdZLUyvg4d5H6NmZo7AbrkPrNHXOLy45piU9ghQHejicz5SBLI_JtPFO68BxOiGv7MuNYAAHJO82y-NNbTDjfx6Rbj9RK5-pWoHO9eOSvHa-XDC0OH3Usj4gjjVdXhf5uBl3meKPtUwlaXX0ziaIMoDmfHLw43vqugpJDyNMXkcil0s0NzFFlPBLu4enPx_TEuJp0pKsBEKXDNgB9amSmljD7ovdNd9ocIA7kNBe3SSctTkqxYqOrABuaC3KDmCGzCOGRboDUJEL8FP3HtbimsXCm8jXKzqo-5a_YA
Accessing the Dashboard
Copy the token that was printed to the screen, navigate back to the browser window we opened earlier and select the option Token. Paste the token into the password field shown on the screen and press the Sign in button. That’s it! You should now be able to access Kubernetes Dashboard as shown below: